
Hire the author: Dafa Faris M
Introduction
In this article, we will guide you through the steps to model a car physics using simple methods, rather than complicated math processes. We’re taking advantage of the bare-bone Unity physics engine and simple force-by-force implementation to mimic the macro behavior of a car.
What I meant by “macro behavior” is that we’re trying to get the end behavior results directly instead of say, simulating the small physical aspects that lead to said behavior. Those things including drifting, understeering, stumbling, grip levels, etc.
The advantages are, you’re going to get high-level parameters with clear effects, and you can completely customize the physics behavior of the car with modifying some variables. This is why we also don’t make use of ready-made libraries such as Wheel Collider.
Though, keep in mind the settings I use here will be more “arcade” rather than something even remotely realistic, as I want to emphasize the effects. It’s also something I personally think to be more fun as there’re a lot of opportunities to be crazy with physics in that setting (think of the new global phenomenon, Fall Guys).
Glossary
Some terms that you might learn in this project:
- Understeer – Car turns more than what the driver/steering intends.
- Oversteer – Car turns less than what the driver/steering intends.
- Quaternion – Rotation system that prevents gimbal lock.
- Gimbal Lock – The locking of a rotation axis when two rotation axis is parallel.
- Hysteresis – The different behaviors a system may follow depending on the state.
Requirements
Tools/libraries used:
- Unity at least v2019.3.6f1
The project used in this tutorial is available in this GitHub Repository, just open the project using Unity. It’s generously commented, but it’s not going to be as thorough as this article.
Please always refer to that Project while following the text in this article, as this article won’t feature a full copy-paste of the program to maintain readability.
Step-by-step
The steps provided here are mostly the detailed reasoning on the important steps rather than a full step-by-step, as there would be too many micro-managing involved in the smallest things (ex for making the car, the scene, etc). As such, if you want to replicate this from scratch, I’d advise a certain amount of experience. Otherwise, always refer to the project I provided above.
1 – Preparing the car & physics settings
The Settings
The project I’m starting with has pretty much all of the default settings, as I don’t really intend to touch much except for a few other things. It’s mainly because the project is nothing more than a prototype rather than a full game. I might touch this topic on this website later on with a focus on versatility, keep in touch!
The main configurations to change are relating to physics. Go to Edit > Project Settings > Physics. Below you can see the comparison between default and my project.

Overall, those settings increase the physics calculation accuracy. The default contact offset determine how close something is to be considered a contact. The solver iterations can affect a lot of things, but I change those numbers to eliminate strange car physics such as jittering and bouncing on high velocity.
The Car

Next up is the player’s car, you can find it in the left window, “hierarchy”, named CarPlayer. It certainly is very simple and you can easily replace it with another model, but I use this structure to easily assess the car physics especially during collisions.
The CarPlayer group parent is only an empty object to prevent scaling problems related to the parent-child relationship in Unity. Basically, I can now individually control each of the models inside the group without affecting the others.
If you try to check the children one-by-one, you can see there’s an invisible object, friction. With this structure, the physical properties of different sides of the car can be different too. After you select an object, on the right window, “inspector”, click on the material inside the “Box Collider” component. Here you can see the different properties you can set for each physics material. Only the friction object has a friction set to non-zero.


This is because the friction level (or grip) of the tires of the car is something that’s going to be very dynamic depending on a lot of factors. So, the only parts with unchanging frictions are the sides and the top of the car.
You can also implement this structure into your car, even if you have something with a different form. As the collider of a non-simple object is basically still a combination of simple shapes. In that case, you’d need a larger object to be the friction.
Code Structure
Before we jump in on the physics, let me explain about the segmentation of the car program. Below are the programs when divided into big regions.

Generally, each of these regions means:
- Parameters – All the static values, modifiable in the inspector. Generally is the base value before a lot of factors modify it.
- Intermediate – The generic variables. Usually has the modified parameters (ex: accel is modified of base value Accel).
- FixedUpdate() – The main loop, as we’re dealing with physics. Thus it’s advisable to use it instead of Update() for consistent behavior.
- Situational Checks – The further processing of the parameters (ex: the grip level on a slope is different, slip level is different on different velocity, etc).
- Logics – Connected to the Controllers region, dealing with input and basic conditionals such as CPU cars.
- Passives – Reactive physics, such as friction, top speed, etc.
- Controllers – All the subprograms for the Logics region.
- Rotation Methods – Compilation of my different rotation systems.
- Utilities – Basic subroutines to avoid clutter.
2 – Coding the physics
Since you already get the full program anyway, I’ll go through the steps on how I came up to that point.
Simple transformations
The basic movements (or transformations) are simple, it’s just acceleration acting upon the car, while the rotation is just gradual rotation. I decided to use direct acceleration rather than force because it’s way more controllable. With acceleration, you don’t have to care too much about the mass, all you care about is your car move that fasts.
The rotation method I use here is superbly simple for a system that’s planning to use understeering, drifting, grip, etc for its features. I’ll explain that in the next subsection, but basically manipulating the rotation value directly may lead to unintended results. It’s why Unity always recommends to implement rotation change incrementally, rather than giving it absolute values — hence why I come to use such a simple one.


Failed attempts
Prior to this, I was actually hesitating on multiple turning systems. The problem with physics-based car movement is that the rotation speed (as in, how hard you turn your steering wheel) greatly affects how the car behaves. So, something like that isn’t possible with simple static left-right input from your keyboard and needs something like an analog stick.
If you read the rotation scripts, I’ve tried to implement mouse-following as a turning method. Turns out, it’s way too prone to bugs related to physics, as giving absolute rotation target on a physical object is not recommended. It shifts and messes things up with the internal calculation when your car hits something (and thus rotating without your input), and suddenly your car direction is off by certain degrees.

This is the problem quaternion system that Unity uses trying to solve. That is, the fact that a conventional rotational system (3 rotation axes in a 3D world) leads to multiple different results depending on the order of the rotation. In conclusion, it’s non-deterministic.
Frictions
As you remember before, I decided to set the frictions parameter on the wheels to zero. This is because the force acting on a wheel depends on the direction of the car. Keep in mind my core goal of this physics project: I don’t intend to do micro physical calculations.
The wheels are there to give a smoother shape on the bottom of the car & for visual reasons, but none of the friction is actually acting upon the wheels, everything is directed at the car as a whole.
The frictions (or tire grip) are basically just opposing velocities or accelerations acting on the body. In short, the friction parallel to the car direction is smaller than the friction perpendicular to the car because wheels can roll in one direction. With simple velocity subtractions, you can basically make a sliding car to a stop, thus we’re achieving simple frictions.


(Note: It’s applied to the center of the car)
Slopes
Slopes are another simple problem. A car on a slope will mainly have one main effect: reducing perpendicular force acting on the car (normal force), thus reducing grip. The reduction in grip level is something non-linear, so instead, I just multiply the grip variables & acceleration to the cosine of the angle. Because the normal force of the car is also reduced by that amount.


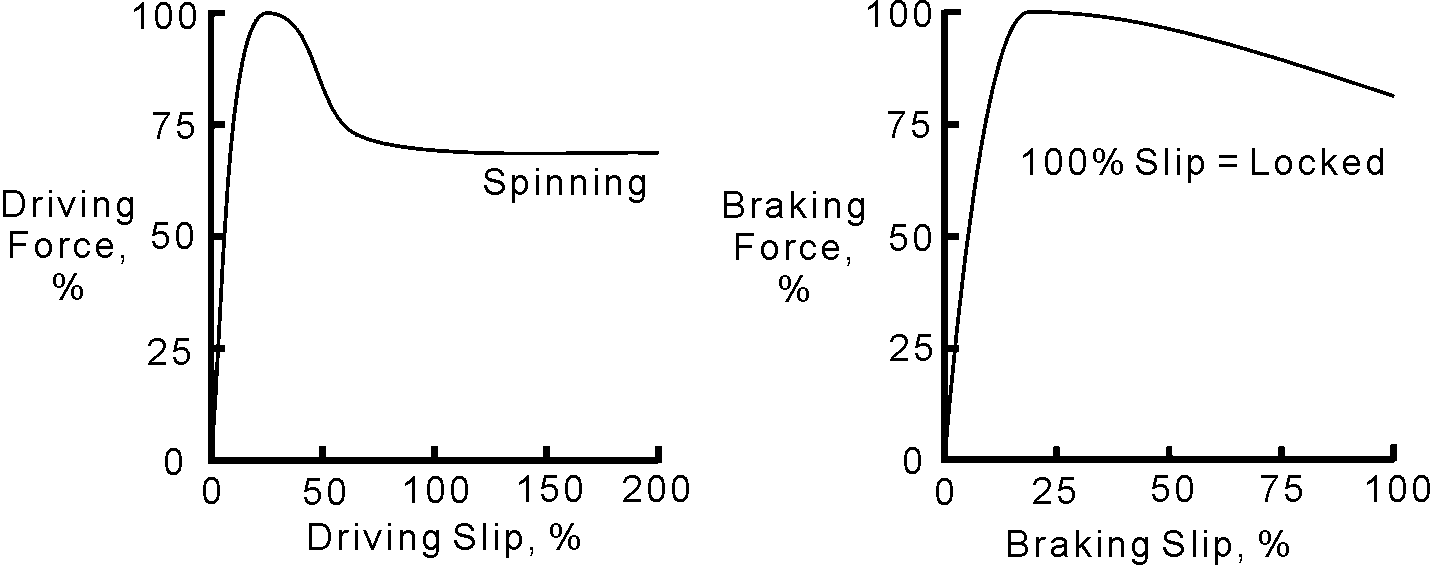
Slip
Under certain force, the wheel of a car may begin to lose its ability to move in one direction and starting to move sideways. That’s what happens when the wheel starting to slip.
Intuitively, the level of the slip of a wheel is something of a hysteresis. It may leave the slipping state harder than it enters. So, when it has started to slip, it might take a while to regain its grip. But when it does, the grip level would jump in and the car throws itself back to normal.

So in this part, we aren’t dealing with hard physics (formula, etc), but rather referencing on information and known behaviors. I model a hysteresis curve based on velocity vs slip level, which is basically a combination of two curves: SlipL for 0 => 100 (lower curve) and SlipU for 100 => 0 (upper curve). To implement curves, I take advantage of Unity’s AnimationCurve, which is basically just a generic curve (give input, get output).

Below are the curves when combined. The maximum slip level (1.0 or 100%, top right) is determined by the SlipMod variable. So in this case, I will reach the max slip level when my sideways velocity is >10m/s. With SlipMod, you can stretch or contract the curves, so you don’t have to modify the curves to change the speed threshold.


The video below shows this “easy to enter, hard to leave” behavior. After slipping, I was trying to counter it. But my car would turn slowly until grip level is back, in which it throws itself to the direction I wanted.
Enjoy some more.
Prevent rotation
It’s a small thing that prevents the car to conflict with the built-in physics and prevents pivoting like a tank.

3 – Extras
Camera
I use a simple following-camera for this. Assign the code to a camera, and then position it relative to its target (CarPlayer). The distance and the orientation of the camera in the scene will be used as a reference. In this way, you can adjust the camera without touching the code again, just by moving or rotating it in the scene.

Controls
For starters, you can set the keybinding of your Unity project in Edit > Project Settings > Input Manager.

Using the Name of each of those inputs, you can map it into your program like below. I separate the real action vs the main controller because I’m planning to add computer cars. In essence, the Controller() subroutine is a box asking for input signals, before passing it into the car. Meanwhile, the input can be from your keyboard, or from simple conditionals (computer).


As you can see here, depending on which faction I assign to the cars in the inspector, they may behave differently.

Other Cars
Here, I’m planning to create annoying cars to fully see how chaotic it can be if I fit a lot of cars on the screen. The main enemies are cars that are hell-bent on chasing you everywhere. Below you can see it’s just blindly chasing you without any path-finding, so it’ll hit everything on its way.

I also added neutral cars, which are just minding its own business and full throttle all the time. You can see its command really is just a single line in the previous image (factions). Enjoy the results of this behavior.
Scenes
As you can see from some of the clips above, the versatility of the car physics let me do a lot of crazy things to add to the scene. Here’s an overview of the whole scene. You can also get creative and add a few dynamic platforms like a seesaw (a box locked in every transformation, except for one rotation axis).


Yes, I get the inspiration from the Fall Guys game.
Testing tidbits
This is a small tips that will increase your testing performance: don’t select any of object with rigidbody component. So make sure you’re selecting a static object, or not selecting anything at all on the hierarchy. This is presumably caused by the inspector forced to poll in new data in the GUI.
Stress test
You already see the enemy cars in action, but not the neutral cars yet. So I use this opportunity to stress test the game. Watch the chaos as 109 cars with the same program (except the basic command) hit each other. Amazingly, everything is still so smooth at 100 FPS with most of the resources spent on rendering. This indicates our car physics is not bad performance-wise.

Learning Tools
No direct example regarding this. Overall I took a lot of examples from Stack Overflow for more detailed problems, syntax, and/or functionalities regarding the new terms and objects (such as quaternion). Unity official documentation also helps a lot, as it’s greatly structured. Outside of the technicalities, I spend a lot of time iterating car physics by watching a lot of car videos.
Learning Strategy
The hardest part of this whole process is, of course, getting the car physics with the correct feeling like I want. I spend multiple sessions exploring ideas about how to get that one specific behavior correct before moving on to the other. Sometimes, one behavior also breaks the previous ones. But thankfully, due to the force-by-force system I use, I can isolate those problems immediately.
Which is why understanding the basics is the best way to do this. Not only it’s necessary for any learning project, but it can also help tremendously in choosing a solution that’d be the best fit for what you exactly want. Especially if you have dozens of ideas for a single problem.
Reflective Analysis
While the resulting solutions can be very simple at a glance, I learn that getting in the correct solutions and tuning parameters definitely takes a lot of time since it’s an iterative process. Things I haven’t done before which I do here is starting to use clips or demo to showcase my work.
Making use of my love at gaming also helps a lot in determining what kind of videos or clips to showcase the game. It might help sell the product you’re trying to make or help the tutorial to become more engaging as readers can see the results in-between lengthy processes.
Conclusion & Future
With this simple car physics modeling, there’re ways you can implement performance-cheap cars in your game, especially with a variety of high-level parameters to be tuned. It’s also notable for machine learning research, as you might be able to put thousands of these cars at the same time.
That is actually my initial idea of developing this. Using machine learning to see how good it is at understanding car physics, its adaptation to a variety of parameter adjustments, a variety of tracks, different goals, etc. The potential of a simple car is tremendous.
Ask away any question in the comment section, any feedback is also appreciated. As stated above, the notebook is available in this GitHub repository.
You can check my other blog on another topic here about modularly creating Android form app.
Project duration: 15+ hours.
Article creation: 5 hours.
Found this blog along with the video demo to be very educational. With this simple car in physics I was able to learn rotation scripts in unity, such a static left-right input from your keyboard and mouse-following as a turning method.
Since this project is prototype rather than a full game, doing more study on unity and physics can help you develop a full game. You can also add in machine learning to see how good it at understanding car physics.
On first launch after cloning the github repository the car seemed to be
stack but I managed to solve this using the following steps.
1. Disabling the enemy cars through the inspector.
2. Deleting some of the enemies so that you can evade better
Nice article.. Thanks for sharing!!
wow you totally rock thanks a lot for your effort to make this tutorial